


It is common to need to replace the silicon caulk in the shower or along the tub. More often than not, homeowners will do it due to mold and mildew growth, or perhaps the caulk is simply wearing down. There are many other circumstances that requires caulk replacing. When people tackle it as a DIY project however, there are quite a few mistakes that are made. Today, we at Abco Design Pancho Construction, Inc would like to share the common mistakes people make to help you avoid them and the basic steps in removing the old shower silicon caulk and applying fresh silicon caulk.
Remove Old Caulk Before Applying New
The new application needs to be done quickly and without ensuring prep is done, the new application can be poorly installed. Though most know to remove the old caulk, too many are guilty of not completely removing the old caulking. Be sure it is completely removed before you start applying fresh caulk.
Apply Masking Tape Before Caulking
Border the area you are working on with masking tape before the caulk application to avoid making a mess. Your finger is the best caulking tool and as you spread the caulk the tape will prevent it from smearing onto the tile. To avoid a big mess later, you can simply remove the tape and excess caulk and reveal, clean, even caulk lines.
Only Use Quality Caulk Products
There are many products available that are advertised to replace caulk. However, many of these products allow for water seepage that create mold and mildew growth among other water damage and they are best avoided. Stick to silicon caulk around the bathtubs and showers.
Fill the Bathtub with Water Before Caulking
It’s important to fill the bathtub with water prior to caulking. The weight from the bathtub with water in it will pull away from the wall a little if you neglect this minor detail. The caulk cracks if the tub is fill after the fact.
How to Remove Silicon Caulk from Shower
1) Wear gloves for protection. Use a razor blade or utility knife to cut away the silicone caulking. It will make it easier to cut if you periodically splash the area with water to keep the area moist.
2) Once as much caulk as possible is removed, mix together white flour and water. Several tablespoons of water and about of cup of flour should be mixed together, depending on how much caulk is left behind. Mix until you have a thick paste.
3) With your finger, spread the thick paste over the remaining silicone caulking.
4) Allow time for the mixture to dry and adhere to the caulking.
5) Wash the paste away with the caulking and be sure the area is dry before you apply the fresh silicon caulk.
How to Apply Silicon Caulk in Shower
1) Carefully cut the tube. Use a utility knife to cut the tip at a 45-degree angle. If necessary, you can use 100-grit sandpaper to help smooth and round the tip.
2) To start the caulk flow, squeeze the handle of the caulking gun. As soon as the caulk emerges from the tip, release pressure, and use a damp rag to wipe the tip.
3) Lightly apply the caulk on the designated area and use your wet finger to smooth, the bead. Once complete, use the damp rag to clean your finger. Allow the caulk to dry.
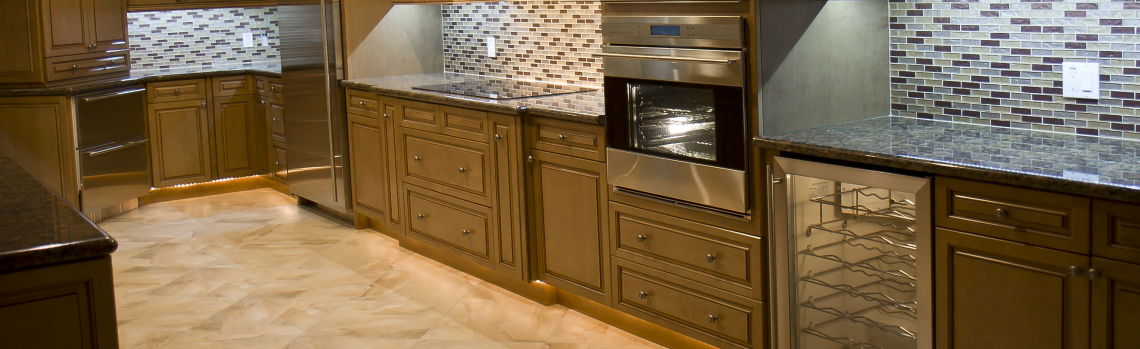
Bathroom Remodeling & More in Palm Springs, Palm Desert, La Quinta, Cathedral City, Banning, Indio & the Coachella Valley in Riverside County California
Though seemingly simply, re-caulking the bathtub/shower can be time consuming and tricky. Call Abco Design Pancho Construction, Inc for our handyman services and let our qualified experts take care of this task for you quickly and efficiently.